ALIGNER SOLUTIONS
FOR DENTISTS
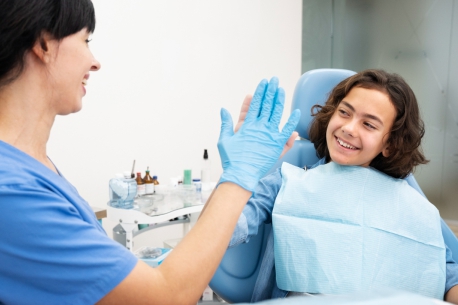
Give Your Patients Hassle Free Smiles
with Illusion Aligners

Why give your patients the ILLUSION ALIGNERS advantage
How Illusion Aligners
Work for Dentists
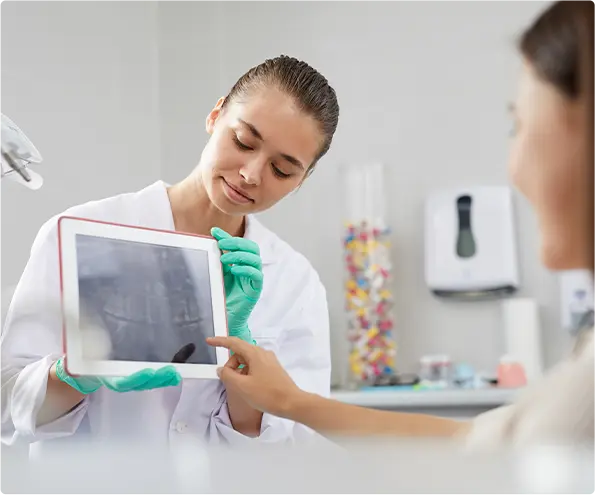
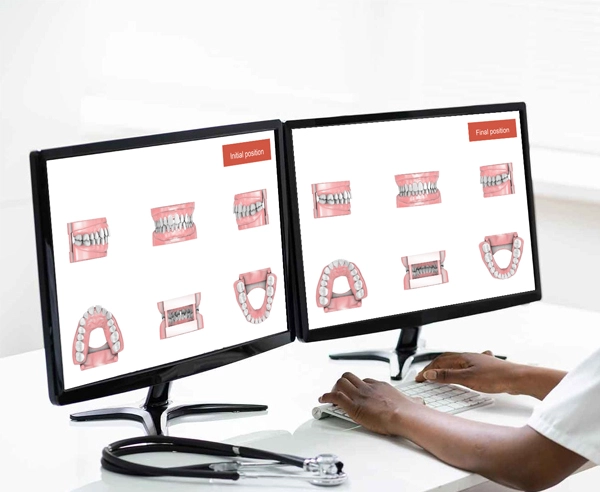
Patient Case Details
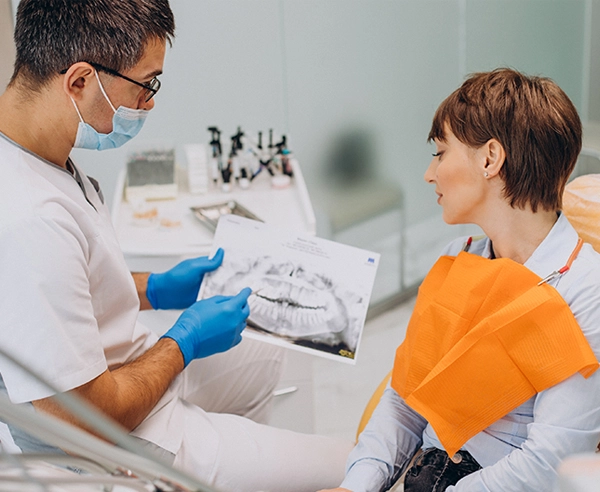
You can start by introducing the patient to the benefits of aligners and the advantages of Illusion Aligners.
- Send us the patient’s impressions of the upper and lower jaws.
- Send a scan of their teeth.
- Along with the above reports, send us photos of the patient's smile.
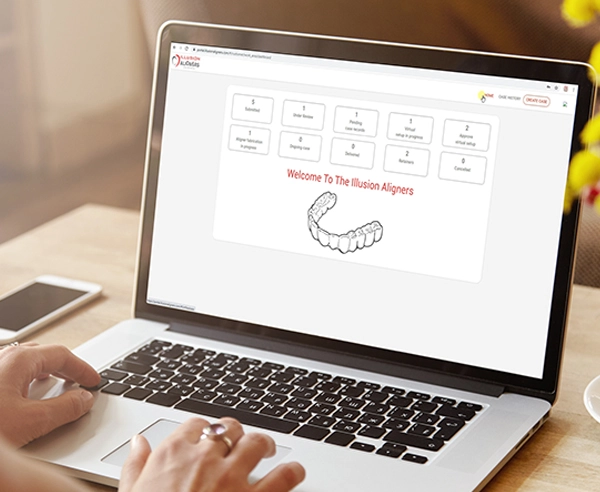
Register Your Case Online
Visit our Illusion Aligners Doctor portal page and register your patient case with us. Our trained orthodontists will review the case and guide you for the next steps.
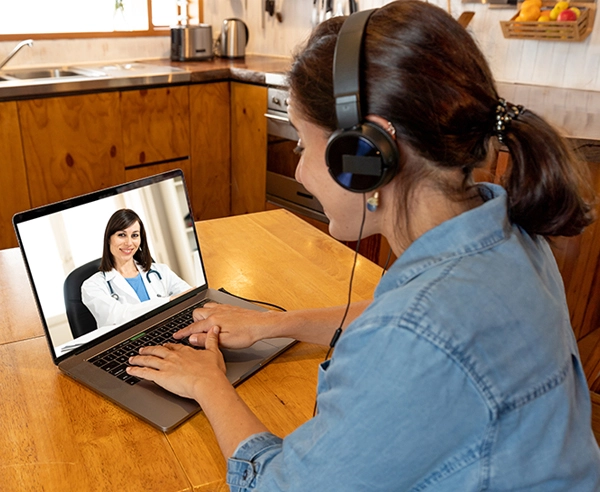
Stay Connected With Our Experts
You can get your case related advice at every step from our team. We have a team of experts that are available throughout the treatment. We will also assign a dedicated expert for your patient cases.
Free 3D Virtual Setup For Your Patients
Thrill your patients with our exclusive 3D virtual setup. This is a complimentary service extended by Illusion Aligner Team to all our partner dentists.
Give Your Patients The Experience
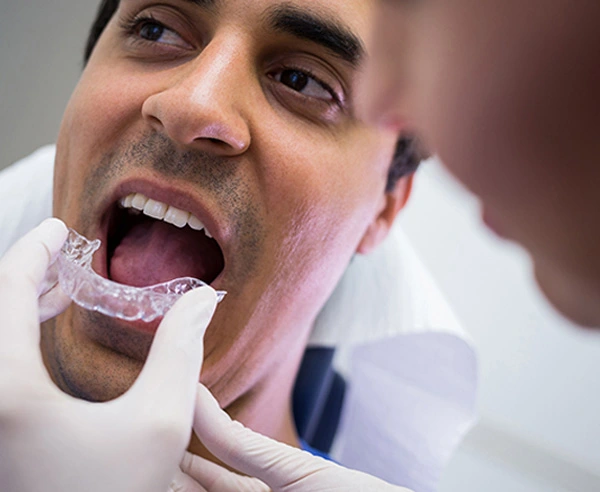
Give your patients the confidence to try Illusion Aligners with our Zero Aligners. These are a pair of demo aligners for patients to experience the comfort and clarity of Illusion Aligners.
Show Patients Their Treatment Plan
With the virtual setup, you can show the patient the changes they will be seeing as the treatment progresses. Seeing their smile getting transformed will give them the confidence they need to trust the treatment process.

Send Us An Approval
Once the patient has confirmed the treatment plan, update the approval status on your Illusion Aligner Doctor Portal. This will send our experts an approval to go ahead and start the manufacturing process.
Receive The Aligners
You will receive a kit with a series of aligners. Every case will have a unique number , indication of the arch and a case number, laser printed on it.

Give Your Patients Their Dream Smile
With Illusions’s dedicated technology and clinical support you can confidently give your patient the perfect smile they have been dreaming of.

Learn More About Our Process
2
IPR Info
Patients with tougher cases will require IPR (interproximal reduction) along with their aligner therapy to achieve their desired outcome.
For example, crowded teeth cannot move easily to new positions. Slightly reducing their proximal surfaces allows a minute degree of freedom to move when the aligners apply pressure.
IPR can be done by using a diamond strip, single-sided diamond bur, or double-sided diamond bur.
You can get 1, 2, or 3 mm of space after these procedures, which can be precisely measured by gauges. This unlocks the previously locked teeth to move freely.
The best technique to use a bur is to place it below the contact point from the buccal and travel toward the occlusal surface. For better esthetics, consider entering from the lingual side first. This is a minimally invasive procedure and causes little discomfort. Check for fully-broken contact using dental floss.
Attachments are tiny buttons on the surface of your teeth that help aligners move teeth effectively. These may be created by filling light-cured resin material in the aligners and bonding them to the tooth surface.
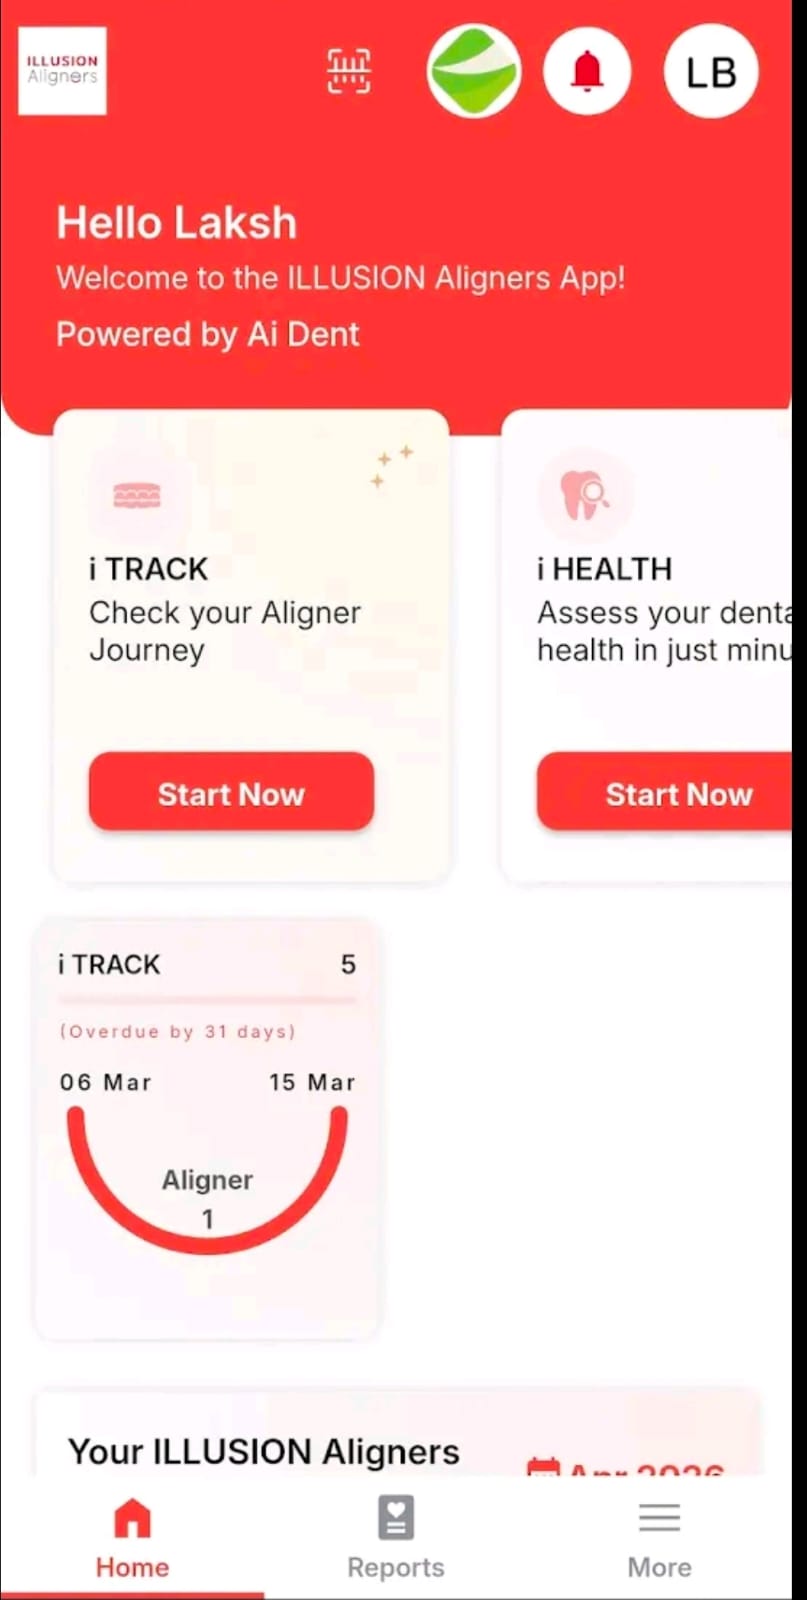
Your journey to a better smile
Illusion Aligners is designed to make your smile journey simple, organized, and stress-free. Track daily wear time, get tray change reminders, and monitor your progress—all in one easy-to-use app. Stay on schedule with smart notifications, view your progress timeline, and stay connected with your dental provider.
Stay aligned. Stay confident. Your perfect smile starts here.


Here are a few tips that might come handy while bonding
Always begin with thorough scaling and polishing, this helps to exactly match the shade of the tooth.
Cure materials only after completely seating the tray. You can do that by asking the patient to chew on cotton rolls, bilaterally.
Avoid using sharps to prevent tearing of the aligner while removing the aligner after the material has set. Instead, use a broad-ended scaler. Remove excess with a finishing bur or a dental floss interproximally.
For Dentists
 © 2026 Illusion Aligners. All Rights Reserved